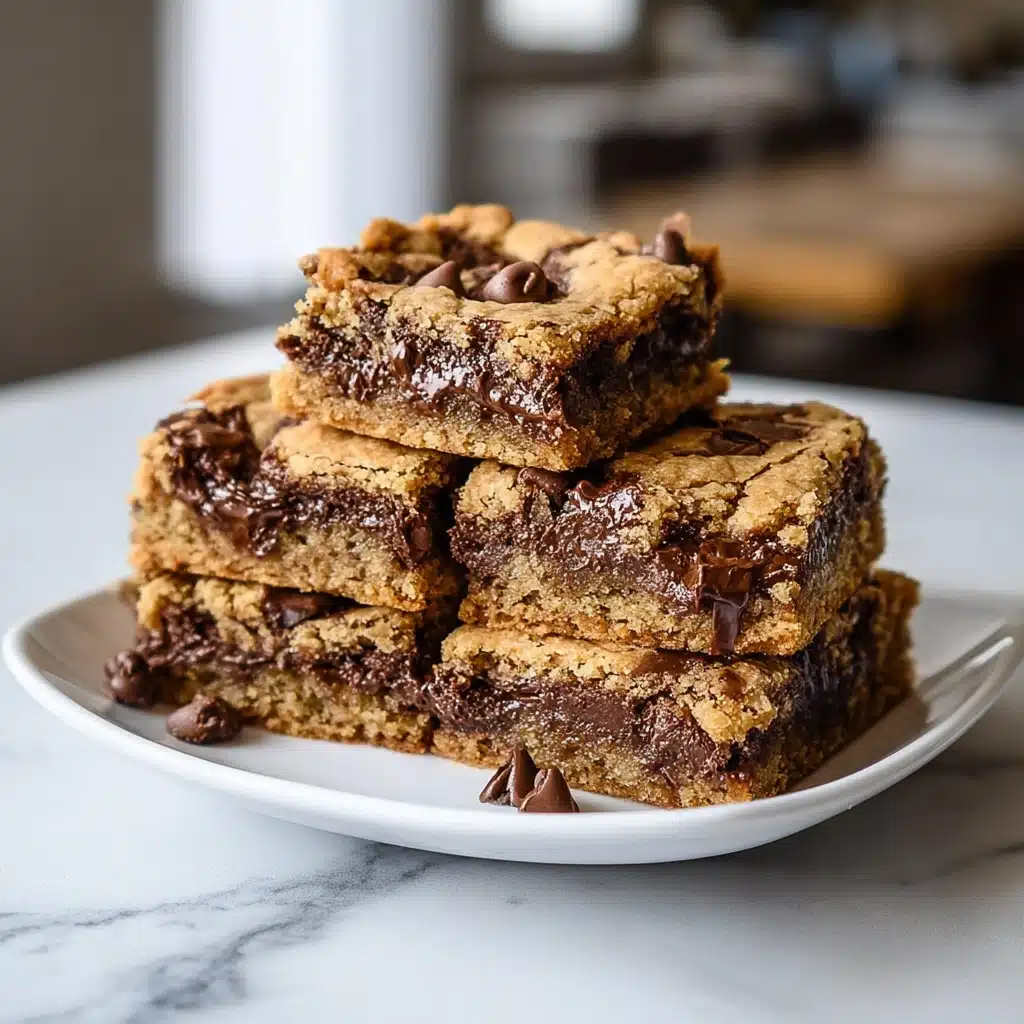

There’s something magical about homemade treats that don’t require turning on the oven. These No-Bake Fudgy Chocolate Squares have become my go-to dessert whenever I’m craving something rich and satisfying but don’t want to spend hours in the kitchen. The beauty lies in their simplicity , with just three core ingredients, you can create an indulgent dessert that tastes like it came from a fancy bakery.
What makes these squares truly special is their incredible fudgy texture that melts in your mouth while still holding its shape beautifully when cut. They’re the perfect solution for last-minute entertaining, satisfying sudden chocolate cravings, or when you want to whip up something delicious for a potluck. The best part? No baking skills required, and they set up perfectly in the refrigerator while you go about your day. These squares prove that sometimes the most impressive desserts come from the simplest recipes.
Ingredients
Main Base:
- 2 cups dark chocolate chips (or chopped dark chocolate)
- 1 can (14 oz) sweetened condensed milk
- 2 tablespoons unsalted butter
Optional Add-ins:
- 1 teaspoon vanilla extract
- 1/2 cup chopped walnuts or pecans
- 1/4 cup mini marshmallows
- Pinch of sea salt for topping
Dietary Substitutions:
- Dairy-free: Use coconut condensed milk and vegan butter
- Refined sugar-free: Opt for sugar-free chocolate chips and homemade date-sweetened condensed milk
- Nut-free: Skip nuts and add dried fruits or coconut flakes instead
- Gluten-free: This recipe is naturally gluten-free when using pure chocolate
Time & Planning
Prep time: 10 minutes
Chilling time: 2-3 hours
Total time: 3 hours 10 minutes
Make-ahead tips: These squares actually taste better after sitting overnight, making them perfect for preparing the day before you need them. You can make them up to a week in advance and store them covered in the refrigerator.
Time-saving tricks: While the chocolate mixture is warming, line your pan and gather any add-ins. The entire active cooking time is under 15 minutes, leaving plenty of time for other tasks while they chill.
How to Make It
1. Prepare Your Pan
Line an 8×8 inch square pan with parchment paper, leaving some overhang for easy removal. Lightly grease the parchment with butter or cooking spray to prevent sticking.
2. Melt the Chocolate Base
In a heavy-bottomed saucepan over low heat, combine chocolate chips, sweetened condensed milk, and butter. Stir constantly with a wooden spoon until the mixture becomes smooth and glossy. This should take about 5-7 minutes. The mixture will thicken as it warms , this is exactly what you want for that perfect fudgy texture.
3. Add Flavor Enhancers
Remove from heat and quickly stir in vanilla extract if using. The mixture will be quite thick at this point. If adding nuts or other mix-ins, fold them in now while the mixture is still warm and pliable.
4. Set the Squares
Pour the mixture into your prepared pan, spreading it evenly with an offset spatula or the back of a spoon. Tap the pan gently on the counter to eliminate air bubbles and create a smooth surface.
5. Chill Until Firm
Refrigerate for at least 2-3 hours, or until the squares are completely set and firm to the touch. For cleaner cuts, chill overnight.
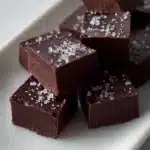
6. Cut and Serve
Using the parchment overhang, lift the entire block out of the pan. Cut into 16 squares using a sharp knife, wiping the blade clean between cuts for neat edges.
Nutrition Overview
Each square contains approximately 180-200 calories, with the richness coming primarily from the chocolate and condensed milk. These treats provide a good source of antioxidants from the dark chocolate, along with calcium from the milk. While they’re certainly an indulgent treat, their rich texture means a small piece goes a long way in satisfying chocolate cravings.
The nutritional values can vary depending on the type of chocolate used and any add-ins you choose. Using higher percentage dark chocolate increases antioxidants while slightly reducing sugar content.
Healthier Variations
For a lighter version, try using reduced-fat condensed milk, though this may result in a slightly less creamy texture. You can boost the nutritional value by folding in chopped almonds or walnuts for healthy fats and protein.
Creating a dairy-free version with coconut condensed milk adds a subtle tropical note that pairs beautifully with dark chocolate. For those watching sugar intake, sugar-free chocolate chips work well, though the texture may be slightly less smooth.
Adding a tablespoon of chia seeds or ground flaxseed provides extra fiber and omega-3s without significantly changing the flavor profile.
Serving Ideas
These squares are delicious on their own but truly shine when paired with fresh berries or a dollop of whipped cream. They make an elegant finish to dinner parties when cut into smaller, bite-sized pieces and arranged on a pretty platter.
For special occasions, dust them lightly with cocoa powder or drizzle with melted white chocolate. They pair wonderfully with coffee, red wine, or even a glass of cold milk for a nostalgic treat.
During holidays, try cutting them with festive cookie cutters while they’re still slightly soft, or top with seasonal decorations like crushed peppermint or toasted coconut.
Common Mistakes & How to Fix Them
Grainy texture: This usually happens from overheating. Keep the temperature low and stir constantly. If it happens, try whisking in a tablespoon of warm cream to smooth it out.
Too soft to cut: Simply chill longer. Different chocolate brands have varying cocoa butter content, which affects setting time.
Mixture seizing: If the chocolate becomes lumpy, remove from heat immediately and whisk in warm condensed milk one tablespoon at a time until smooth.
Uneven texture: Make sure to stir constantly while heating and tap the pan to level the mixture before chilling.
Storage & Reheating
Store covered in the refrigerator for up to one week. These squares actually improve with time as the flavors meld together. For longer storage, wrap individual squares in plastic wrap and freeze for up to three months.
No reheating is necessary , they’re perfect straight from the fridge. If frozen, let them thaw in the refrigerator for a few hours before serving. The texture remains perfectly fudgy even after freezing.
For gift-giving, layer squares between parchment paper in an airtight container and keep refrigerated until ready to share.
Conclusion
These No-Bake Fudgy Chocolate Squares prove that the best desserts don’t always require complicated techniques or lengthy ingredient lists. With their rich, satisfying texture and foolproof method, they’ve earned a permanent spot in my dessert rotation. Whether you’re a beginner cook or an experienced baker looking for something simple, this recipe delivers consistent, delicious results every time.
The versatility of these squares means you can adapt them to suit any dietary need or flavor preference, making them perfect for sharing with friends and family. Give this recipe a try , I’d love to hear about your favorite variations or creative serving ideas in the comments below!
Can I use milk chocolate instead of dark chocolate?
Absolutely! Milk chocolate creates a sweeter, milder flavor. You might want to add a pinch of salt to balance the sweetness.
How do I know when they’re properly set?
The squares should feel firm to the touch and not leave an indentation when gently pressed. They should cut cleanly without being sticky.
Can I make these in a different sized pan?
Yes! Use a 9×9 pan for thinner squares, or a loaf pan for thicker bars. Adjust chilling time accordingly , thicker pieces need longer to set.
What’s the best way to cut clean squares?
Use a sharp knife dipped in warm water and wiped clean between each cut. This prevents the chocolate from sticking to the blade.
Can I double this recipe?
Definitely! Double all ingredients and use a 9×13 inch pan. The setting time may increase slightly due to the thicker layer.
Why did my squares turn out too hard?
This can happen from using chocolate with too high cocoa content or overcooking. Next time, try adding an extra tablespoon of butter for a softer texture.